Monday, March 28, 2011
Námsskeið !!!
Fyrir þá sem hafa áhuga þá verð ég með námskeið hjá Miðstöð Símenntunar á Suðurnesjum 9. og 12. maí og kenni þar að hekla skart :))
xoxo
Magga
Skemmtileg kvinder
Það er gaman að skoða fransk/íslenska bloggið hennar Hélene Magnusson, hér er linkurinn ef þið viljið ;)
xoxo
Magga
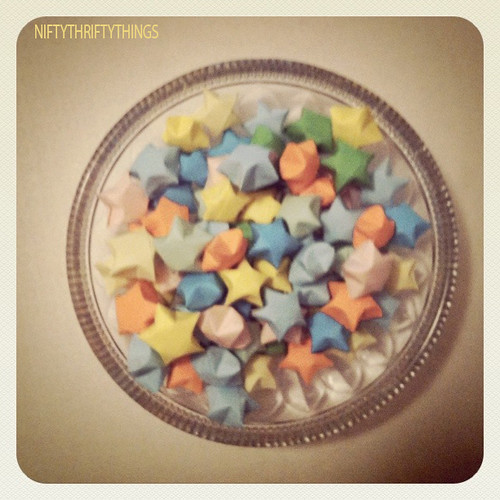
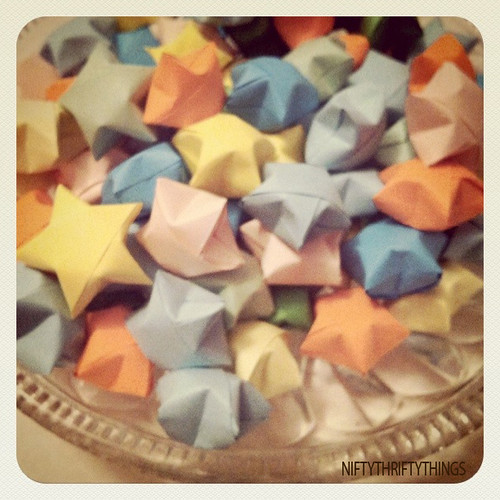
Lukku Stjörnur !!!!
{lucky stars}
I folded about 150 lucky stars last night. Be careful, it's very addictive!
I threw together a little tutorial, if you want to try it yourself.
What you need:
- paper in A4 or letter size, in your preferred color
- scissors or x-acto knife
- ruler
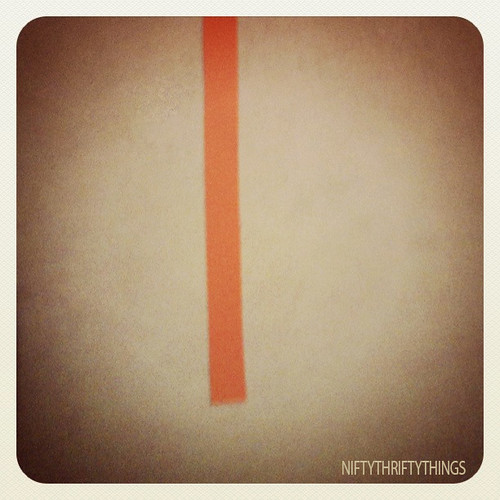
Cut the paper into strips. The width determines the size of the star. For the tutorial I used about 1/2 in. wide strips:
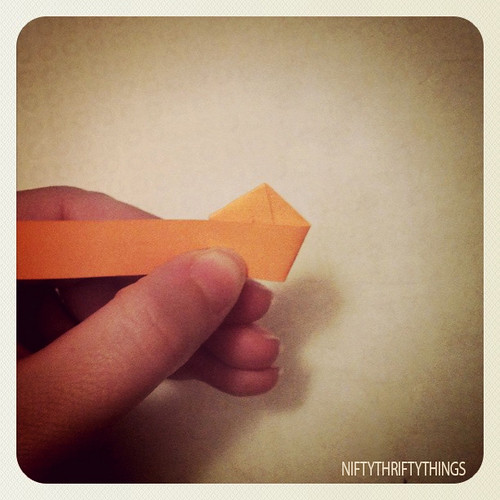
Start by tying the strips into a knot:
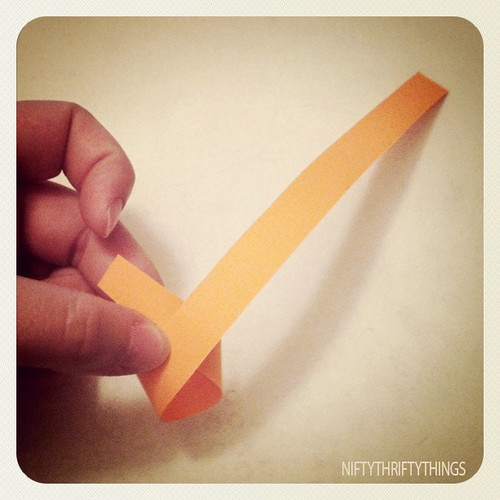
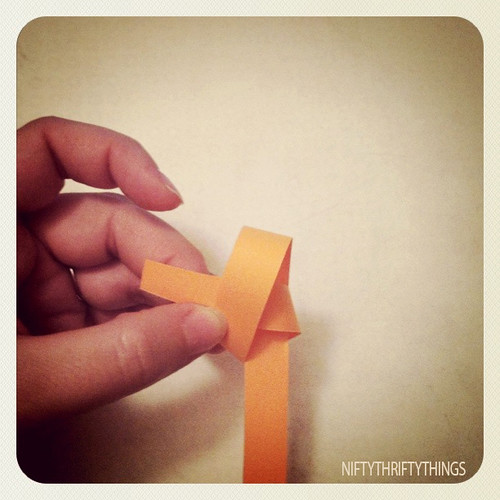
You're on the right track if your knot looks like a pentagon:
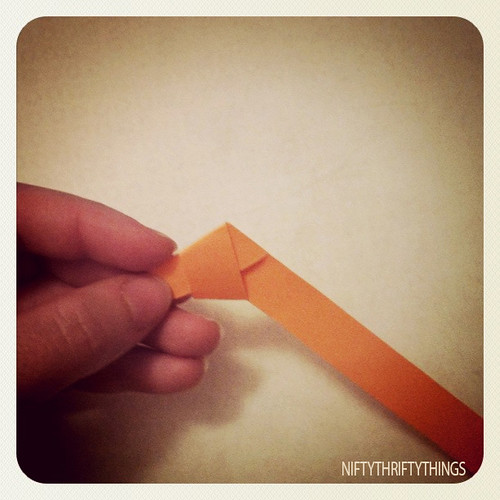
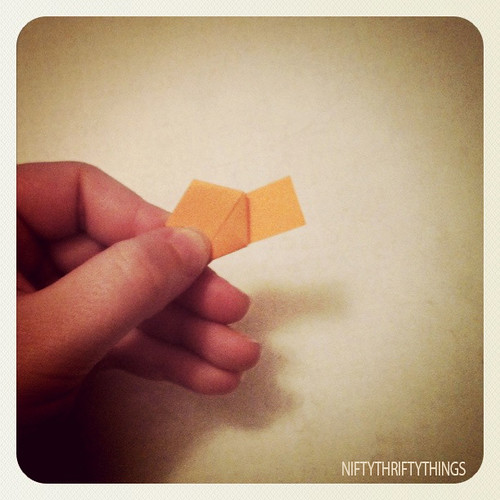
Fold the little tail over:
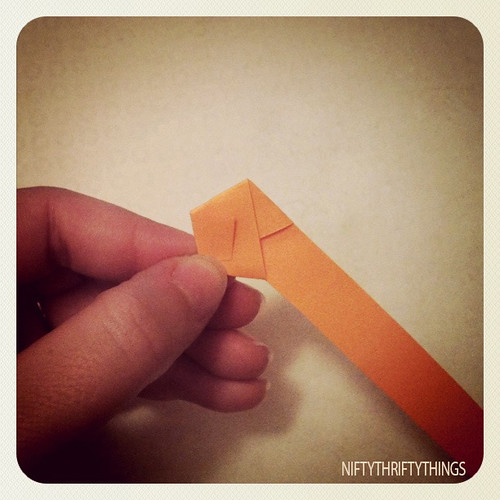
Start folding the long tail around and around the pentagon:
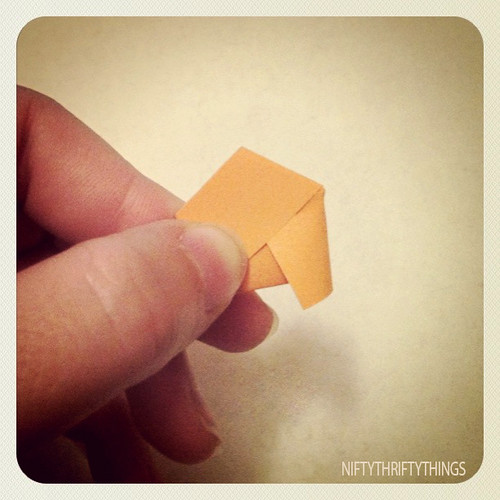
Until you reach the end of the strip:
Tuck the end of the strip into the little pouch:
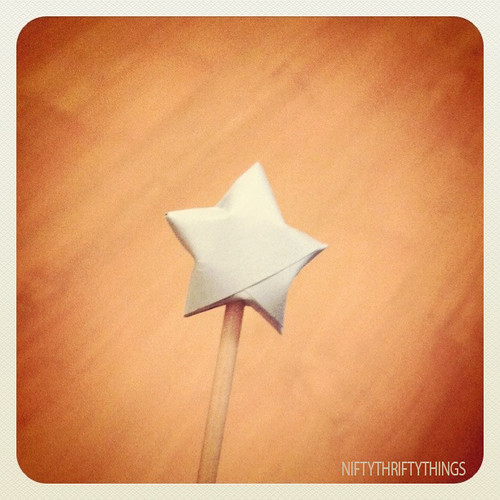
You'll end up with this:
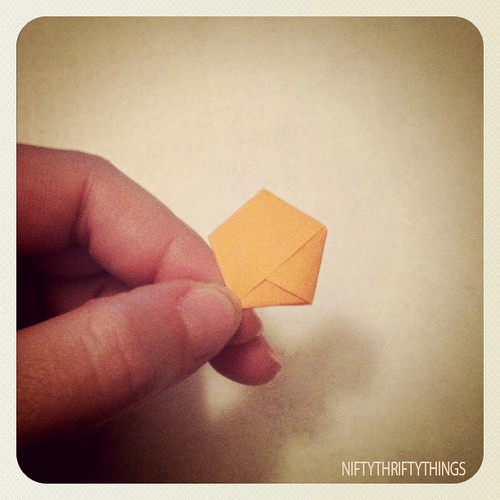
To make this pentagon a star, push gently with your fingernail on each side:

I even made a video tutorial to show the full process:
PS: It's easiest if you don't crease the sides of the pentagon too much when folding the strip.
xoxo
Magga
Saturday, March 26, 2011
Star Wars stráka koddi !!!
Star Wars koddi frá Natprat :)))
First Step: You find an image online that you want. Save it, and open it with your picture editing software, or even something like Microsoft Word Processor. You flip the image so it's a mirror image, and then you make it as big as you want. Mine was just "Star Wars" text.

Step 2: take a sheet of felt (mine was 49 cents at Walmart) and carefully tape it to the top of your screen. With a pen or marker, LIGHTLY trace the image onto the felt.

Step 3: Cut out the image with your scissors.

Step 4 (OPTIONAL): I wanted a more finished look to my design, so I just stitched the edges. You don't have to if you don't want to.
 Step 5: Since it's felt and it will likely fray and get nasty, put some Fray Check along the edges. It will make the edges stiff and keep the shape better. Don't know what Fray Check is? You can find it at any sewing store or Walmart. It's very inexpensive and it awesome stuff.It looks like this:
 Step 6: No sewing involved, so don't be scared! All you'll do is glue the pieces on with your hot glue gun! See? Easy peasy. Once you've got them in place, you can kind of lift up the corners and edges and make sure they're glued down tight.
And now you're all done!

Uglu púði !!!
Frekar auðveldur Uglupúði frá Natprat, sætt í stelpuherbergið !!!

Who wants a NO SEW tutorial for this ADORABLE owl plushy that ONLY takes about 45 minutes to make? Even better, it only costs about $3 per plushie. This would be PERFECT for Activity Day projects or Young Women activities!
*NOTE* You can handstitch everything if you don't want to use the glue gun! ;)
SUPPLIES:
6 sheets of felt
*2 sheets for body
*1 white for eyes
*1 for wings (any color you want)
*1 for belly (any color you want)
*one for the nose (I used orange)
Glue gun/gluesticks
Needle and Embroidery thread (any colors you want)
stuffing (not the kind you use in a Turkey...)
The Template (save it as an image, open in Word Processor/Works/Photoshop) and print
Scissors
2 buttons (or you can cut out 2 small circles of felt for the pupils)
Each page is the size of an 8.5 x 11 piece of cardstock

 Okay, now you're going to cut out the pieces. These will be your pattern for you to trace onto the felt. (see below)
 Now, decide what color you want the different parts of the owl. Trace the part of the owl you want on the color of felt you want it to be. For the body, you will need 2, one for the front, and one for the back.
 Once you have all your pieces cut out, you'll lay it out like THIS (These are Whitney's owl pieces)
 Now, if you want to you can just stitch the pieces individually. See the picture of the final product up at the top? I hand stitched the wings, belly, top of the head and some eyelashes on the eyes. You can do it however you want though! There are so many fun things you can do to make it your own!
After your pieces are stitched to your liking, you'll start to glue them onto the owl. Start gluing with the eyes. First, attach the buttons to the white circles. Then glue the white circles onto the "behind eyes" part. Then, the belly, and then the wings on top of that. Oh! And you can decorate the belly any way you want, too! I put a fabric rosette on mine. I learned how to make these at My Sparkle. She rocks. :)

 Now, you'll glue the VERY OUTSIDE edge of the owl like so. Make sure to leave an open space about 3" at the bottom to insert the stuffing.
 Now, flip it over, take your stuffing and stuff that bird! You can stuff it as much as you like. Make sure to poke stuffing up into the ears.
 When you're done stuffing, carefully glue the bottom edge closed.

Thursday, March 24, 2011
Hús oná borð :Þ
Leikhús undir borðinu !!!!!
ofureinfalt í framkvæmd.. bara klippa efnið eftir stærð borðflatarins og mæla svo hliðarnar og hvaða sídd við viljum hafa...... og svo bara hafa þetta einfalt, klippa bara uppí efnið þar sem hurð á að vera og klippa fyrir gluggum ;))
Veit að Ikea er með alveg ævintýralega flott efni og gaman að gera eitthvað úr efni frá þeim, svo bara að gera kodda og teppi í stíl til að hafa inni, sannkölluð ævintýraveröld :)
xoxo
Magga
Subscribe to:
Posts (Atom)